
Every week we receive RFQs that describe a seal by equipment model alone — “O-ring for a Caterpillar 320D boom cylinder” — with no dimensions attached. That works until it doesn’t: equipment serial changes, aftermarket parts vary, and a 2.62 mm cross-section ordered where 3.53 mm was needed wastes a full shipping round trip. Measuring an O-ring correctly takes five minutes with basic tools and eliminates most ordering mistakes. This guide covers the procedure our own sales engineers walk through with customers, including the special cases: worn seals, installed positions, and cord stock.
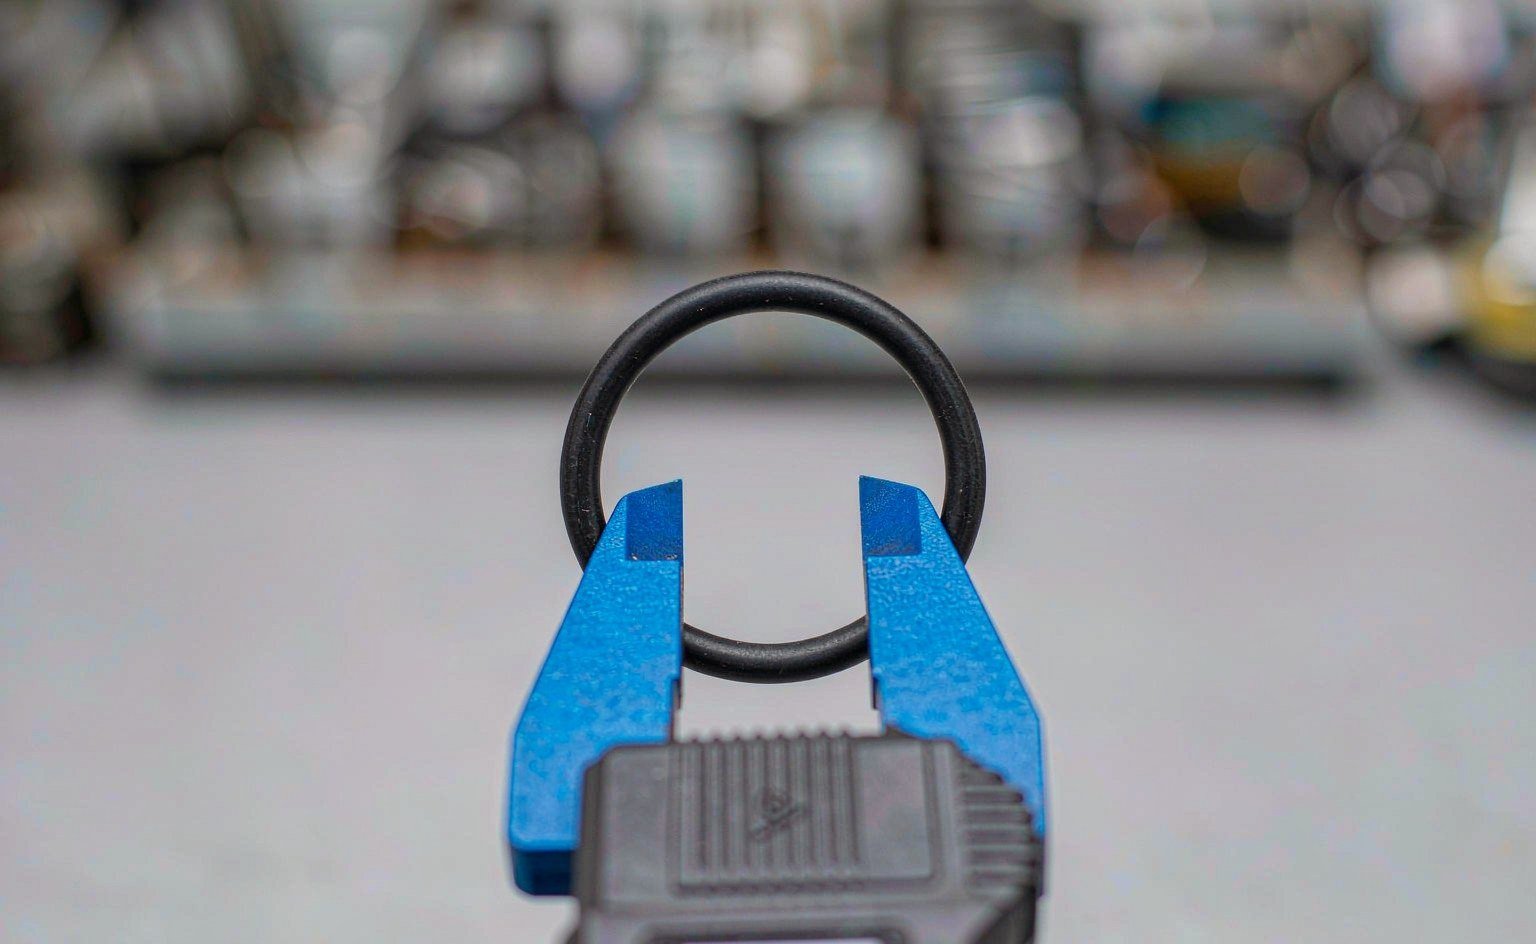
Tools You Need
- A digital or vernier caliper with 0.01 mm resolution — the single most important tool
- Optional: a cone-shaped O-ring sizing gauge (fast, but a caliper does the same job)
- Optional: a length of string or flexible ruler for measuring very large O-rings by circumference
Avoid measuring with a ruler against the O-ring’s face; parallax error on a 3 mm cross-section can exceed the tolerance band you are trying to verify. Do not stretch the O-ring with fingers while measuring — stretched rubber measures smaller in cross-section and confuses the identification.
Step 1: Measure the Inside Diameter (ID)
Lay the O-ring on a flat surface. Open the caliper’s internal jaws and place them lightly against the inside walls of the ring at its widest point. Read the value.
For an O-ring, the ID you read at one position should be within a few hundredths of a millimeter of a second measurement taken at roughly 90 degrees. If the two readings differ by more than about 2%, the ring has taken a set (permanent deformation) or was stored badly — see the section on worn seals below.
A useful cross-check when the ring is small or the caliper cannot enter: measure the outer diameter (OD) with external jaws and the cross-section (C/S) with the standard jaws, then compute ID = OD − 2 × C/S. For example, an OD of 37.5 mm with a 3.53 mm cross-section gives ID ≈ 30.4 mm — a standard AS568-232 size.
Step 2: Measure the Cross-Section (C/S)
Close the caliper jaws gently on the O-ring’s cross-section. Because rubber compresses, apply only enough force for full contact — digital calipers help here because you can feel the contact point without crushing. Rotate the ring and take three or four readings around the circumference; use the average.
| AS568 Dash No. | Nominal ID (mm) | C/S (mm) |
|---|---|---|
| -006 | 2.90 | 1.78 |
| -010 | 6.07 | 2.62 |
| -014 | 9.25 | 3.53 |
| -116 | 87.95 | 5.33 |
| -232 | 29.97 | 3.53 |
| -332 | 159.87 | 6.99 |
(Sizes per the AS568B standard, nominal dimensions; actual parts carry tolerances per the standard.)
Compare your measured ID and C/S against a cross-reference table. Both AS568 (inch-based, used across North America) and JIS B 2401 (Japanese P, G, S and V series) define the majority of industrial sizes, and we maintain a JIS B2401 reference article covering the P and G series in detail. If your numbers land within 2–3% of a listed nominal size, order that size — do not order the measured raw dimensions as a “custom” size.
Step 3: Confirm the Gland, Not Just the Ring
If the O-ring you measured failed, resist the urge to order an identical replacement until you have checked the gland. Measure the groove width, depth, and the radial clearance between the sealed faces. A ring that measured “wrong” may in fact have been correct for the original design but wrong for a previous repair that used a non-standard part. Gland dimensions also let the supplier verify compression percentage before quoting — a service any serious manufacturer offers for free, and one that catches cross-section errors that measurement alone cannot.
Special Case: Measuring a Worn or Damaged Ring
Worn rings lie about their size. Abrasion reduces cross-section; compression set flattens it; heat aging shrinks it. If your ring is damaged:
- Measure as-is and note that the values reflect degradation.
- Measure the gland instead and reconstruct the correct size: C/S should fill roughly 70–85% of the groove width, with 15–30% radial squeeze distributed between the faces.
- If the gland itself is worn or modified, send the gland drawing or a photo with dimensions to the manufacturer and ask them to calculate the ring — this is routine work for us.
Never average a worn ring’s measurements with a table value and split the difference. The table value, verified against the gland, wins every time.
Measuring O-Ring Cord (Before It Becomes a Ring)
For cord stock — the raw extruded rubber used to make splice-cured rings — measure only the cross-section diameter. Length is irrelevant because cord is sold per meter and cut or vulcanized to your needs. Our X-profile cord stock, available in NBR, FKM, EPDM and HNBR, is a common example: buyers specify C/S (commonly 2.62, 3.53 or 5.33 mm) and material, and join the ends on-site with a splice kit to form rings of any diameter. This approach eliminates the measurement risk entirely for large or non-standard diameters.
Measuring Very Large O-Rings
Calipers top out around 200–300 mm of jaw opening, and large rings — for manway covers, reactor flanges, and large cylinder heads — exceed that. Two methods work.
The string method: wrap a non-stretchable cord around the ring’s centerline circumference, mark the overlap point, and measure the cord length flat. Circumference divided by π gives the centerline diameter; subtract one cross-section to get ID. Cross-section is still measured directly with the caliper at three or four points. Work in one unit system end to end to avoid conversion slips.
The paper template method for installed or fragile rings: press the ring flat on paper, trace inner and outer edges, measure the traced inner and outer diameters at two axes each, and average. Tracing adds roughly 0.2–0.4 mm of line-width bias per side, so treat traced values as provisional and confirm against gland dimensions before ordering. For rings above 500 mm, sending the gland drawing to the manufacturer is faster and more reliable than any field measurement.
Common Measuring Mistakes
Measuring a stretched ring: stretching increases ID and decreases C/S simultaneously, leading buyers to order a ring one or two dash sizes too large. Let the ring relax on a flat surface for a few minutes first.
Confusing OD with ID: ordering by OD works only if the cross-section is also correct. A 50 × 3 ring and a 43.4 × 3.53 ring both measure about 50 mm outside — but seal completely differently.
Measuring with the ring installed in the gland: a compressed ring reads larger in cross-section than it actually is. Remove it when possible.
Mixing inch and metric: AS568 dash numbers correspond to inch-based nominal dimensions. A “-210” is 0.734 in ID — 18.64 mm, not 18 mm. Verify units before ordering.
When to Order Custom Instead of Standard
Standard sizes cover most equipment — our rubber O-ring category lists the common AS568 and metric ranges we stock. Order custom when: your gland is non-standard (common in Asian-made hydraulics and European dispensing equipment); the calculated ring differs from any table size by more than 3%; or quantities are high enough that a custom mold pays for itself in reduced waste. Custom molding from our factory runs from small trial quantities for machined or spliced solutions to full compression molds, with most custom O-ring orders quoted within 24 hours.
FAQ
Can I measure an O-ring while it is still in the machine? You can read approximate dimensions, but compression distorts the cross-section. Remove the ring and let it relax before final measurement. If removal risks damaging the gland, measure the gland instead and ask the manufacturer to calculate the ring size.
My caliper only reads to 0.1 mm. Is that good enough? For cross-sections of 2.62 mm and above, usually yes for identification against standard tables. For small O-rings (1.78 mm and below) or for verifying tolerance-critical parts, use a 0.01 mm caliper.
The measured size doesn’t match any standard. What now? First check that the ring has not stretched or taken a set. Then measure the gland and send both sets of numbers to a manufacturer — if the gland is standard but the ring is not, the previous repair likely installed a wrong part. Custom sizes are inexpensive in small quantities when machined or spliced.
How do I convert an AS568 dash number to metric? Multiply the inch nominal dimensions by 25.4. Better: use a published AS568-to-metric table rather than hand-calculation, because rounding conventions matter when matching to JIS or ISO sizes. We help customers with this conversion daily — include it in your RFQ.
What tolerance should I expect on a standard O-ring? Per AS568B, a 3.53 mm cross-section carries roughly ±0.08 mm tolerance and ID tolerances scale with size. Tighter tolerances are available for critical applications — mention the requirement when ordering.